As in most written instructions, you have to read between the lines. I hope my photos and extra details make your job easier. The instructions starts with a drawing of the front fender in place, over the tire, without giving you any hints on how to get it there.
I don't have a floor bike repair stand so I use my tow hitch bike rack to hold the 520 at a workable height.
I removed both of the wire stays and found the fender then fit right in place from the front. The small mud flap easily fit between the fork over the tire. I am also a firm believer in using Loctite thread retainer so I put a drop on each of the adjustment nuts even though they had nylon inserts.
I also put some Loctite on the supplied bolt that goes through the fork crown. Leaving both the stay bolts and the crown bold just finger tight I was able to get the fender seated as high at possible.
I found it much easier to use a 9mm and 10mm nut driver along with a 10mm open end wrench while doing this install. I stayed away from a phillip screwdriver.
Here is a final front view of the finished installation. Once the fork crown bolt is tighted, I made the final adjustments on the stays. I also made sure the quick release tab were tight and Loctited.
Now to the rear fender. I started again by taking off all four stays. The fender then rolled right into place. I found it very easy to clip the plastic mounting clip in place after the fender was almost all the way in.
Loctite on the existing Trek allen head bolt and finger tighten.
It was then very easy to make sure the fender was rotated and seated all the way and clipped onto the frame cross member. I will take a wait and see attitude whether the fender moves and needs a bolt at that position. Not a lot of space between the tire and fender mount, so I will have to look for a Button head metric allen bolt if I add one
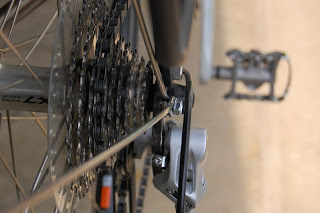
Sliding in the last four rear fender stays in place was the last step. I again used a drop on Loctite on all bolts. I found that I needed to have the lower stays on the outside, as two stays are mounted to the frame with one bolt.
This last rear photos shows the clearance between the Trek rear rack and the installed fender. I was so happy I didn't need to remove the rack. I did have to rotate the position of the rear axle skewer release so it cleared the stay mounting position on the left side.
I am very excited to find out how these fenders will hold up and how dry they will keep me in future commutes.


1 comment:
Nice blog dad, I didn't realize you changed your title, but I like it. Very appropriate. Let us know how the fenders work.
Post a Comment